Showing posts with label rivet. Show all posts

Saturday, 21 May 2016

Rear Panel Shroud

Still focusing on getting the rear end to a semi complete state, one piece which needs some work on before final fitment is the top shroud which runs around the top edge of the rear panel.

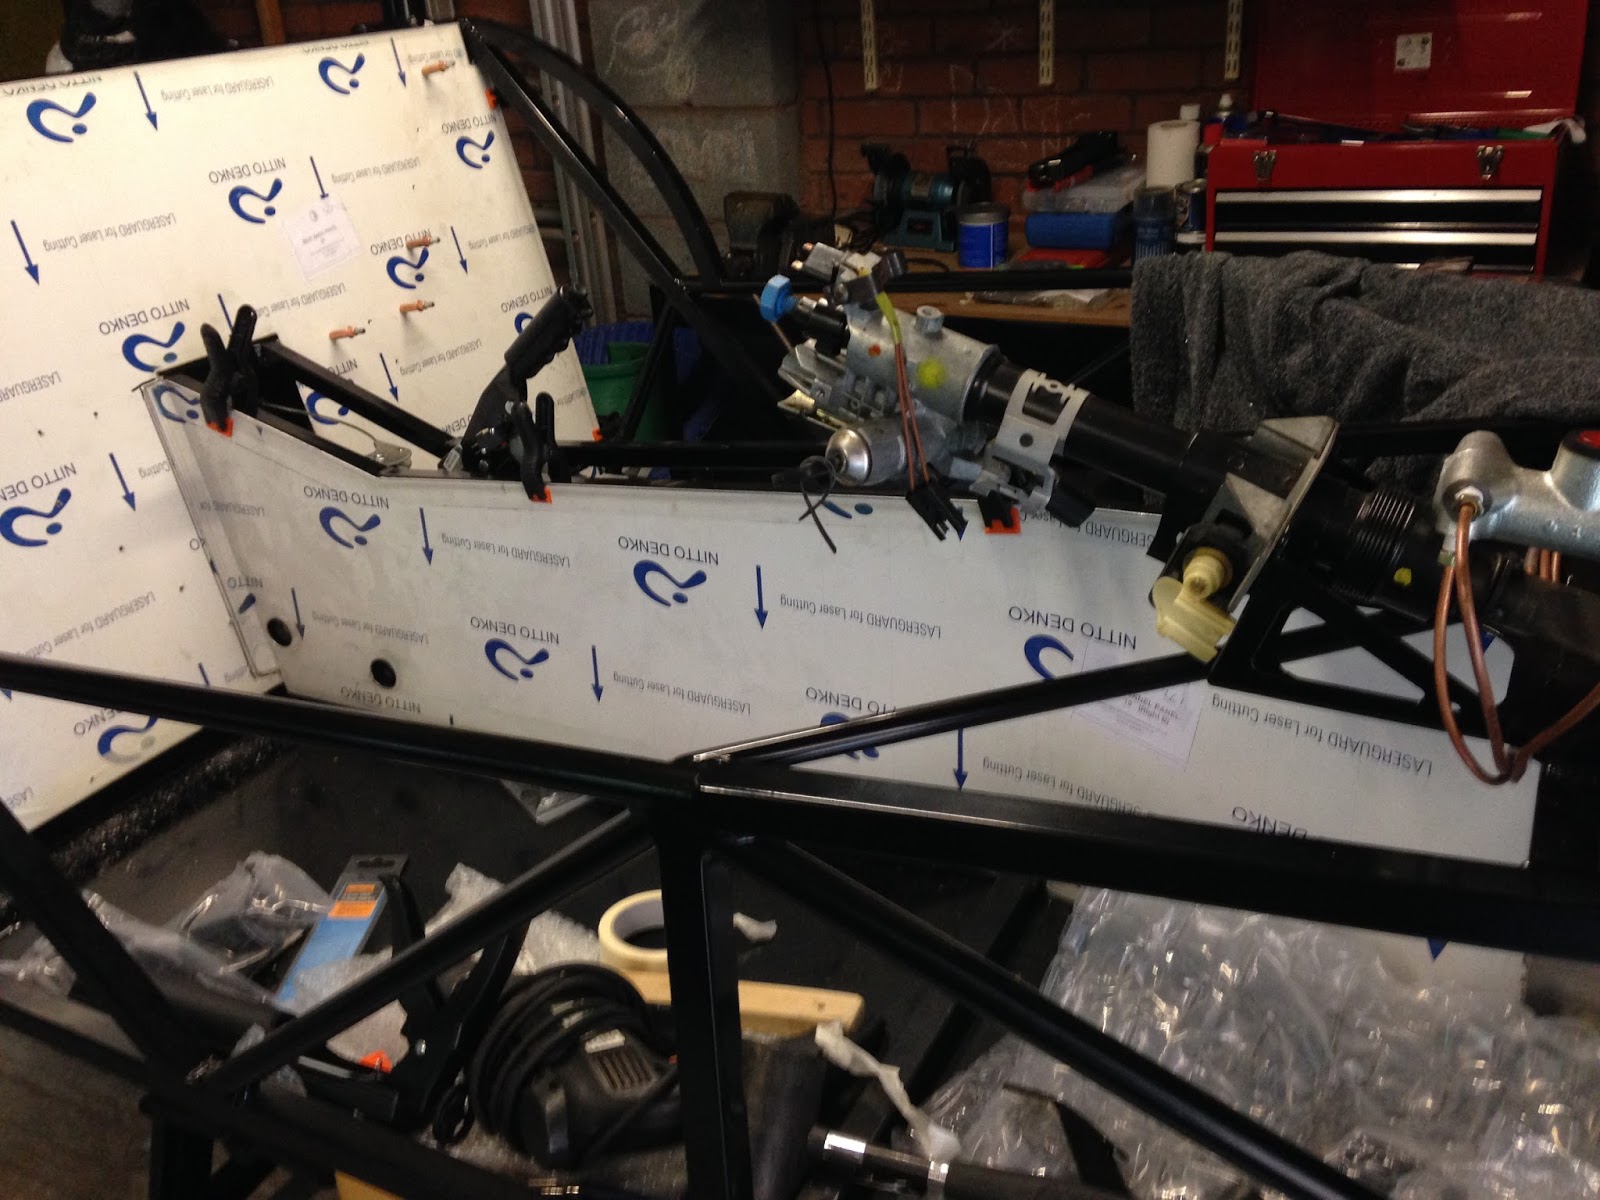
This is a a flimsy piece and one which you have to be careful not to inadvertently damage whilst working on it - it sits in a prominent position and any creases or bends in the metal will be seen.

It needs IVA trim on the inside and outside edges of the strip before riveting into position on the top panel. My wife suggested it would look good with the carbon fibre wrap effect applied to it and in turn I could use black head rivets to fix the shroud to the top of the rear panel (one aspect, visually I wanted to avoid was the sight of rivets - black on black my avoid that...)

So I applied the carbon vinyl wrap to the strip, firstly ensuing it was clean of grease and dirt before applying.

This was followed by application of the inner and outer beading round the edges which is required for IVA purposes. The inner trim fits nicely and follows the edge well - it needs some glue on the edge of the strip and then the IVA trim is teased into position and pushed onto the inner edge.

The outer IVA strip requires more coaxing round the curves - a combination of tape and washing pegs ensured it temporarily stayed in position whilst I created "nicks" in the trim to help it round the external curves of the shroud.

Once I was happy with that - it was a case of getting the glue out and gluing into position. Apply some masking tape to hold it in place and leave to fully dry for a day or so.

The shroud can now be placed back along the top edge of the rear panel, re-drill through the holes originally drilled when the rear panel was being formed and rivet into position with the black-headed rivets. 

I also carefully bent the long pieces of the shroud down and over the leading edge of passenger/driver cockpit and temporarily Cleco'd into position at the bottom straight edge near where final stainless steel door trim will be applied - hopefully the final rivet used will be hidden nicely when it is all glued into position.


Friday, 13 November 2015

Side Panels

Well, I took the plunge of getting the side panels fitted to the vehicle.

These along with the scuttle and rear panel are what I would class as landmark fitments in the build process, it starts to evolve into looking like a car, becomes more substantial less skeletal even.

Again I spent alot of deliberation as to when these were to be fitted - the factory fit them early in the build so it seemed sensible to take guidance from them, they do after all build these cars to a very high standard and in theory have fined tuned the build sequence over the years.

but you weigh that up with the fact that fitting the panels reduces access around the vehicle and installing items such as the engine / gearbox that bit more tricky. 

Consensus from other builders is firmly down the middle, with I would say an even split of those whom fit early to those whom leave until the last possible minute. so no guide to fall back on there! A decision had to be made so I elected to go with an early fitment simply because fitting whilst it is on trestles is easier, storage of the panels was a problem as I did not want them damaged and items such as the front suspension need removing before fitment so doing that later in the build when the vehicle is off trestles would I envisage prove more difficult...we shall see further down the line if this decision is the right one!

fitment of the panels is superb, alot better than I expected, the panels basically fit like a glove round the chassis frame, no trimming needed, a slight bend is needed mid way down the side but that virtually bends itself into position when the whole panel is mated to the chassis.

Out with the polyurethane sealant of which you will need a lot! position the panel and clamp into position.

I elected to do as few rivets as possible (The factory apparently don't even rivet) so I riveted along the front edge near the front suspension, underneath where the panel folds under the chassis and along the rear where the wheel arch will fit.

Leave to cure for a couple of days and hey presto side panels on, no turning back now and I have to say its started to look like a "proper" chassis.


Sunday, 9 August 2015

Inner crescent panels

Two inner crescent panels are next to be fitted to the chassis and I have to say I am surprised these are not part of the starter kit which I anticipated would have had all the panels necessary to enable a full construction of the chassis.

Not sure of the logic in not including these with the starter kit apart from it providing the option to the builder of not fitting these for weight saving, personal aesthetic reasons...anyway panels sourced from GBS and ready to fit into the chassis.

Process follows previous description for panel fitting so I wont go into great line by line detail here, selective riveting on the square tubed panel and cleco'd into position as holes drilled to take rivets when finally sealed and fixed into position.


Sunday, 12 July 2015

Drivers Side Panel & Rear Seat Panel final fit

Natural progression from the rear seat panel is to get the driver side transmission tunnel panel into position.

For now I am leaving the passenger side to allow access for fitting the drive shaft later in the build.

So, back to the drivers side and it generally fits well, it needed some slight bending towards the footwell end as it follows the chassis frame plus at the end, the panel needs to bend in towards the driver side footwell panel.

Once the bends have been put, I again mark up from the inside (drive shaft side) where the frame runs, removed from the chassis applied masking tape to replicate the chassis frame. Holes were drilled for the rivets and the panel re-fit and held in place using some clecos to get fixed firmly in position whilst I drilled out the holes into the chassis frame. Debur and we are good to go with final fit, rivet etc.

Prior to applying the polyurethane sealant, I peeled off the protective film and cleaned the panels/ chassis frame.

Started with the back panel, I applied plenty of the black ultra sticky adhesive sealant, re-fitted the back panel, riveted, clamped and fixed firmly into position wiping away excess sealant whilst being constantly wary of not getting it onto the skin for a prolonged period as its horrendous to get off once engrained onto the skin!

I followed up the rear panel by doing the same process with the driver side panel.

All fixed into position and left to harden over the next 24 hours


Beginning to look more like a chassis now some panels are getting fitted!

Even jensen approves!


Tuesday, 17 March 2015

Swirl Pot

Following fitment of the rear brake pipes focus is increasingly turning to getting the differential fitted (must get my act in order and arrange the heavy labour!). A weekend trip to Iceland is coming up on the rails so the fitment will be delayed a while longer.

so some spare time and a quick-ish job is the fitment of the swirl pot located ahead of the drivers foot wheel panel.

GBS provide a plate for locating onto the chassis frame which acts as a surface for the left hand side of the swirl pot to locate onto via some rivnuts whilst the right hand side sits on the chassis frame near to the transmission tunnel.

the fitment of the plate is slightly awkward in the sense you need to drill at an angle to get the rivets located but a good centre punch and slow drilling prevents the drill wandering and you can get a clean hole drilled with some perseverance and patience.

Next up, rivnuts. Another step into the unknown, not used such a tool before so spent the first half hour working out how it worked, which mandrel fitted the rivnut and remembering to screw anti clockwise to tighten and clockwise to unscrew, all very confusing!

9mm holes need drilling into the plate and chassis frame once marked up on masking tape, looking at the holes they looked way too big but when the rivnut is put in and the tool applied to the rivnut to compress the fitting it is all good and secure and four rivnuts later we are good to go and fit the swirl pot....


Some slight opening up of the holes in the swirl pot to allow clean access for the four screws and hey presto one swirl pot fitted.

results thus:


Sunday, 8 February 2015

Footwell Panels final fix

The continuing cold weather makes evening opportunities to work on the car limited, so time and progress has been slightly hampered this past week, that aside I managed to get in to the garage and make further progress with the footwell panels.

One thing I have discovered in the fitment of the panels is you need a ready supply of 3.2mm drill bits! clearly I am still learning the knack for drilling the chassis but what I have established is:

  • You need a good centre punch to give the drill bit a chance to bite into the steel otherwise it will wander across the powdercoat, plus,
  • You need low revs on the drill, high revs and the drill bit will blunt making the job hard nigh on impossible

So with that thought process in mind, I managed to drill into the chassis frame using the panel initially as a guide to mark the holes in the frame which I then centre punched and followed up with steady low rev drilling. Cleco'd the panel as I progressed to ensure it all remained square and true in the chassis.

Once drilled, everything was cleaned with white spirit, the laser protective film removed and time to crack open the black polyurethane sealant


The sealant.... you need disposable gloves without question, get it on your hands and if not removed immediately with white spirit it will stain your skin and however much scrubbing you do after it will remain ingrained for days after. The sealant is also extremely sticky, it grabs the steel virtually immediately but you do have some time to maneuvere into final position.


I elected to run a thick bead down the middle of each side over the drilled holes in the chassis. Inserted the rivet and gunned the rivet in cleaning excess sealant up with a white spirit soaked cloth.

I need to follow up with sealing the inside of the footwells once it they have fully dried to make it all water tight.