
For now I am leaving the passenger side to allow access for fitting the drive shaft later in the build.
So, back to the drivers side and it generally fits well, it needed some slight bending towards the footwell end as it follows the chassis frame plus at the end, the panel needs to bend in towards the driver side footwell panel.
 Once the bends have been put, I again mark up from the inside (drive shaft side) where the frame runs, removed from the chassis applied masking tape to replicate the chassis frame. Holes were drilled for the rivets and the panel re-fit and held in place using some clecos to get fixed firmly in position whilst I drilled out the holes into the chassis frame. Debur and we are good to go with final fit, rivet etc.
Prior to applying the polyurethane sealant, I peeled off the protective film and cleaned the panels/ chassis frame.
Started with the back panel, I applied plenty of the black ultra sticky adhesive sealant, re-fitted the back panel, riveted, clamped and fixed firmly into position wiping away excess sealant whilst being constantly wary of not getting it onto the skin for a prolonged period as its horrendous to get off once engrained onto the skin!
I followed up the rear panel by doing the same process with the driver side panel.
All fixed into position and left to harden over the next 24 hours

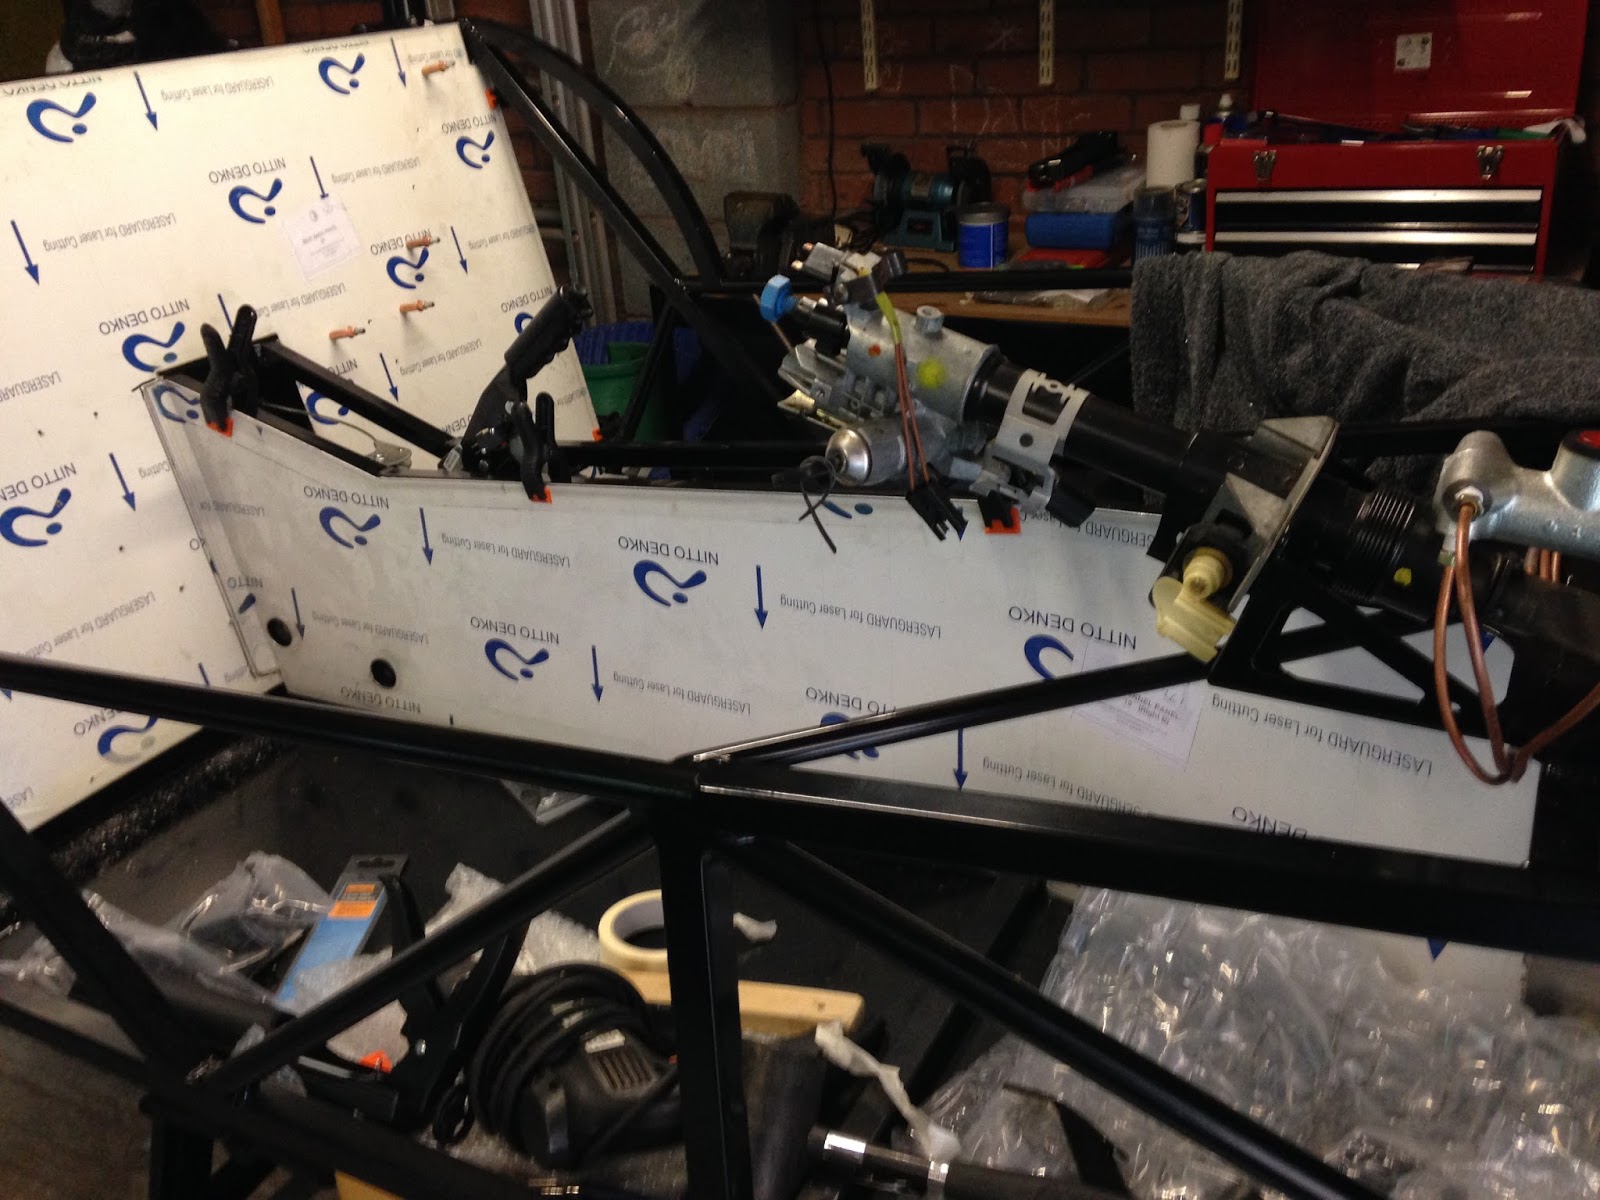
Beginning to look more like a chassis now some panels are getting fitted!
 |
| Even jensen approves! |
No comments:
Post a Comment