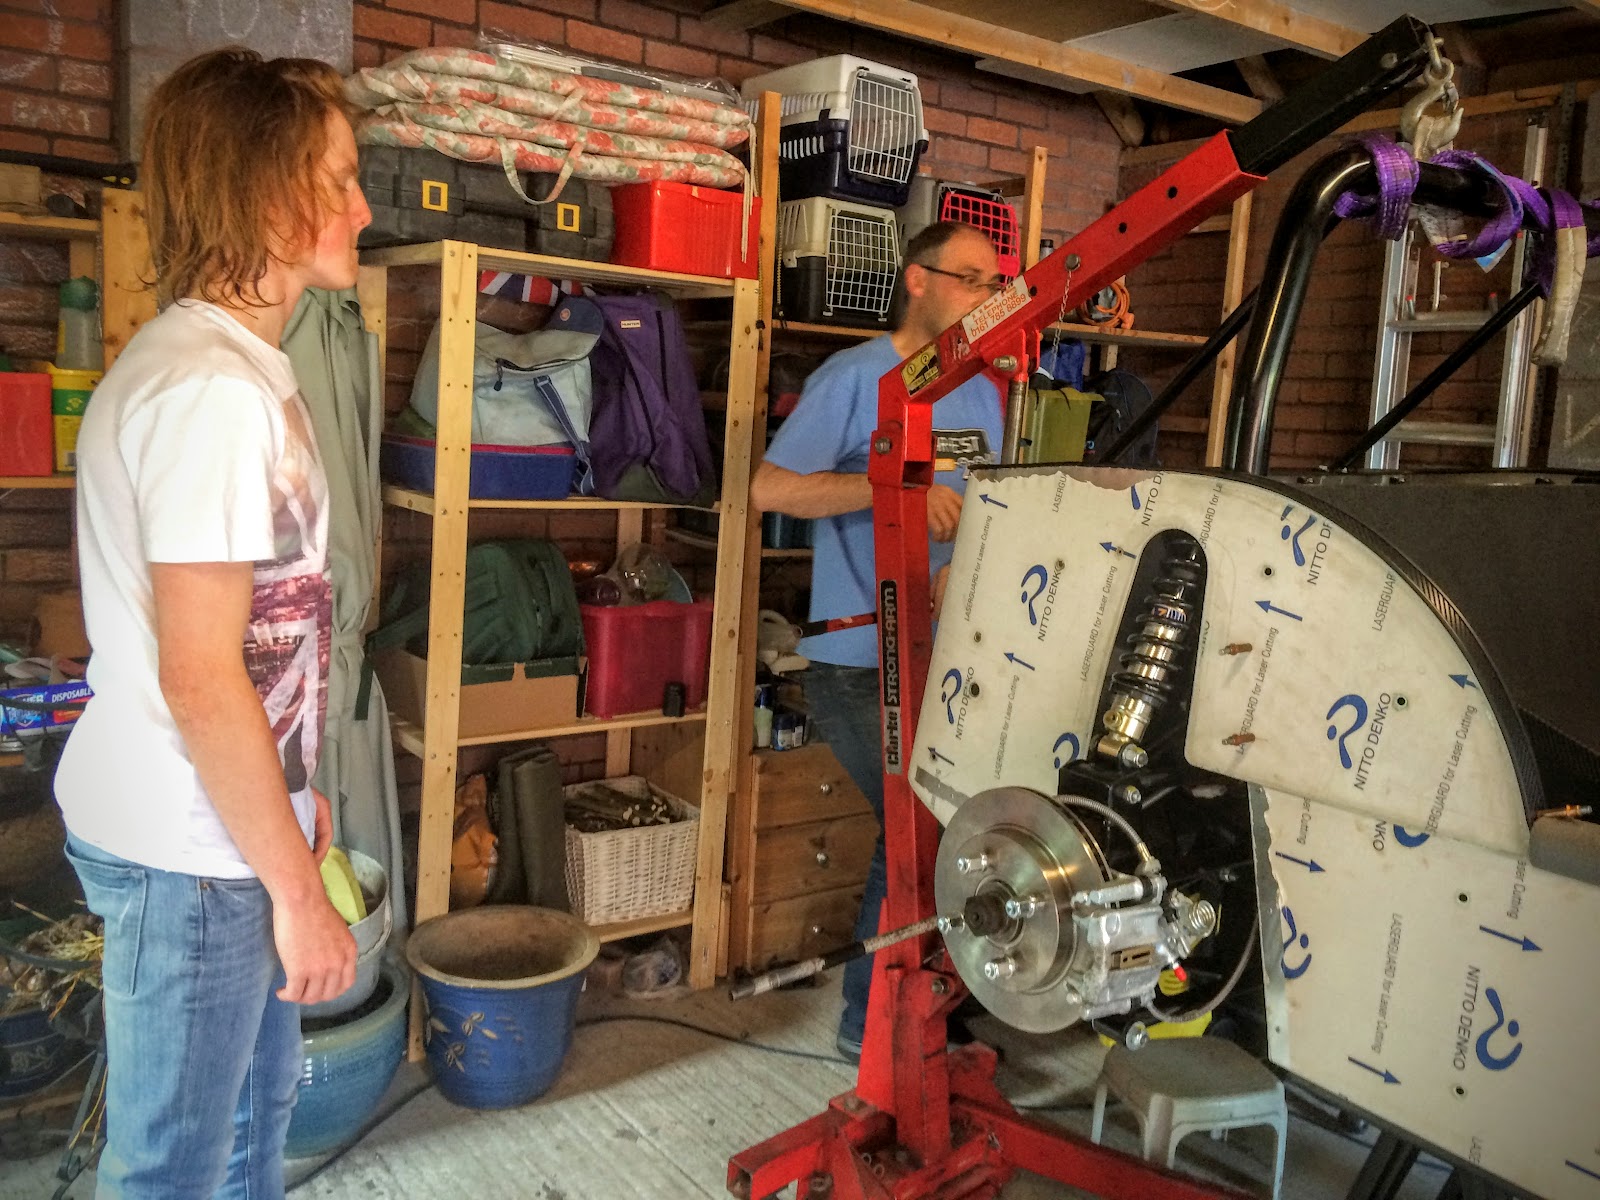
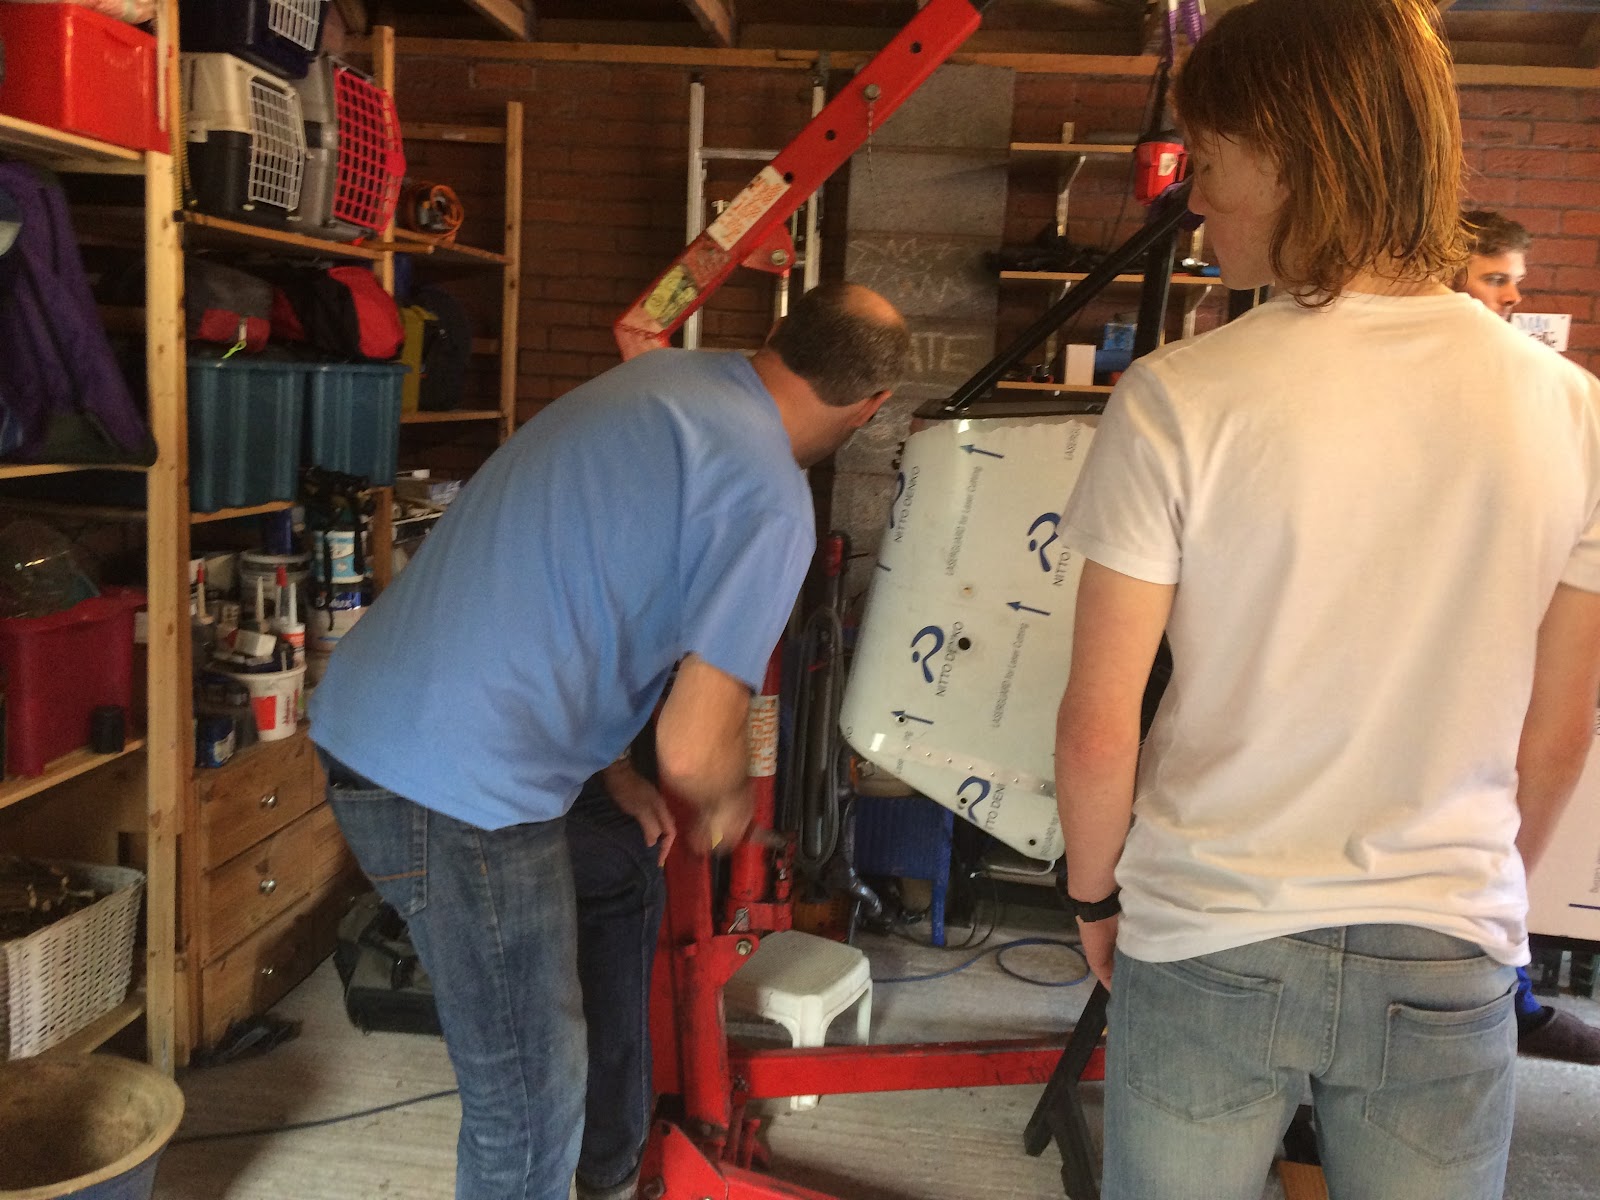
I used the Sunday of the August bank holiday weekend to get the engine installed into the chassis. So cry for help went out across South Manchester with the bribery of bacon rolls, sausage rolls, tea, coffee on offer to willing attendees!
A good turn out of family to which I am eternally grateful to and I will give a shout out at the end of this post. Photos were provided by my Niece Jessica and I hope they encapsulate the team effort on the day.
Before the engine, gearbox was dropped in on the Saturday morning prior I had fixed the correct engine starter onto the bellhousing. All straight forward, three bolts hold it in although the bottom bolt near the sump can only be tightened when the engine is in position in the chassis and you can get underneath the car to access the bolt.
Although I had prepp'd the engine bay with padding earlier in the month, I took the opportunity to also remove the front radiator, steering column and move away loose wires on the wiring loom to avoid any potential damage.
Time to take a deep breath, stand back, go have a cup of tea, have a think, have a read and work out the approach to take in dropping the engine in.
So the approach I had mapped in my head was:
- Install from the drivers side
- Winch up the engine/gearbox
- Guide it round and over the engine bay (from the drivers side)
- Tilt it and drop it into the chassis,
- Push the draft shaft into the gear box and locate on the gearbox mount
- Fix on the engine mounts
- Centralise left and right on the centre line
- Drop down onto the engine mounts which sit on plates welding into the chassis.
Simple eh!
Before all that could be done, we had to re-locate the whole chassis further back into the garage which entailed lifting the rear with the engine hoist and using heavy labour on the front to shuffle the chassis back to enable better access to the engine bay.
I also elected to stand the front of the chassis on one axle stand centrally located to allow for better access by the engine hoist and it not to snag on two axle stands.
Once all that was done, time to apply the approach detailed above...
Too be honest, it worked as described, the challenges were:
- Guiding the engine up and over the chassis and controlling the drop on the hoist gently enough to not bash the chassis and drop the engine too rapidly - plenty of helpers to guide the engine over and judge the rate of drop
- Getting enough tilt and forward movement on the engine to point it down and under the scuttle, I cannot recommended enough that you invest in an engine tilt / loader leveler, this will help no end in getting the gearbox pointing down sufficiently, then use some muscle to push it under the scuttle into the transmission tunnel.

- Use a trolley jack underneath to support the gearbox at a level which allows for the driveshaft to push on cleanly and level. It is then a case of jiggling, pushing the engine, gearbox onto the driveshaft and locating the gearbox into the rubber mount whilst controlling the drop on the hoist. It was hard to see if the gearbox had located into the mount and too be honest it was more a case of feeling with fingers to establish it had located successfully.

- Once the engine/gearbox has successfully located onto the driveshaft and it is still supported by the hoist, fix on the engine mounts and tighten to the engine, then while judging the centre line / centre of pulley are lined up, drop the engine down on its mounts onto the the chassis plates.
Overall i would guestimate it took around an hour to complete start to finish. It went way better than I expected and feel this is huge milestone in the project finally getting the engine into the chassis
With grateful thanks to (in no particular order):
Sue, Alice, Neil, Vicki, Jess, Becky, Alex - what a team :-)
In My May update I targeted getting the engine installed...best laid plans...what I had not realised and it was not until I came to mate the gearbox to the engine was that the standard oil sump on the Zetec engine needs to be replaced with a lowered sump. Fitting the starter motor is not possible with the standard sump in place.
 Total cock up on my part - I assumed (wrongly) the lowered sump was more of an option as opposed to a necessity. So two options open to me either the Raceline sump or the new ATR lowered sump from GBS. Both do the job, one is £200 cheaper than the other...lets do the maths...hmm ATR it is then!
This is actually a nice bit of fabrication on the part of GBS/ATR and it comes with all the fittings - cork gasket, oil pick up, bolts etc - everything needed for converting stock sump to lowered sump.
 First task is drain the oil, easy enough task of loosening the sump plug - leave the dip stick in it slows the flow of oil and allows you to line the catch pan up thus not sending oil everywhere. Looking at the oil coming out it was a curious sludgy green colour - guess it has been sat in the engine a while, think I will replace with fresh oil when I come to refill.
 Once oil has drained, time to loosen x12 bolts from the black sump pan - these are not on too tight and came off quite easily - note a couple of these are quite well hidden so double check all out before you try to pries the black pan from the main sump - you will need a screw driver and rubber mallet to gently tease the black pan off - it will come eventually once you have got it starting to pull away it comes off quite easily.
 Taking the black pan off exposes the oil pick up which is secured by two hex bolts and a further support arm bolt - this needs to come off before you can remove the main sump.
 Lastly, the main sump secured by x10 bolts, again not too tightly bolted in and all came away quite easily - once loosened the main sump came away from the main engine block very straightforward.
 So, doing the above has removed the stock sump from the engine block - reverse engineer the new ATR sump onto the engine block.
Firstly, ensure the magnetic sump plug is inserted and fully tightened. Dry fit the new sump to the engine block and check hole alignment. Mine needed some slight adjustment in opening up the holes a little more to ensure all fully aligned.
 Once happy with that, time to apply the cork gasket to the lowered sump - I used some blue gasket seal applying this all the way round the sump and on the ends applied quite a liberal amount. The cork gasket was applied on top of the seal and I popped the screws into the holes in reverse to keep the gasket in position whilst the seal adhered to the gasket. As an extra measure as it was time to finish for the night i lowered the engine onto the sump and left it overnight to provide some weight whilst the seal "went off"

 The gasket was now in position, all ready for final fit. First the new oil pickup needed to the fitted - straight forward two bolts securing it.
I then smeared some Vaseline along the top of the cork gasket and mated the lowered sump to the engine. The sump was then secured with the x10 bolts and tightened - Be very careful not to over tighten the bolts and crush the cork gasket you only need to tighten plus qtr turn - use feel. (NB the bolts supplied all had threadlock pre-applied so you don't need to add any more when fitting)
Plenty of photos here - appreciate the ATR product is quite a new item and finding fitting guidance on the web is sparce to non-existent, for those fitting the sump I hope the above gives some useful pointers.
16 months into the build and I think the time has come to take the chassis off the trestles and stand it on some axle stands lower to the ground fully conscious it is gaining weight and there will come a time the trestles can't take any more and start to buckle under the strain.
So, thought process was initially brute labour with several willing (press ganged.?) "volunteers" being roped in with the bribe of a brew and bacon roll at the end and basically lift off the trestles and drop down to the axle stands.
On reflection, not the best way and after looking at obvious lifting points to get an adequate grip that was not going to be a goer. So plan B - engine hoist.
Having not invested in an engine hoist I trawled around the web for one to hire - Hire it Here came to rescue and offered a £40 bank holiday weekend hire of a hoist which was actually bloomin' good value considering HSS were after nearer £90 plus delivery - so a trip to Oldham to collect Friday evening.
So revised Plan B involved the engine hoist lifting the rear up sufficiently to get the trestle out and then gently drop down to the axle stands whilst some willing "volunteers" managed the front end (the lighter end) down onto two more axle stands at the front.
In practice, Plan B went very smoothly and once I had worked out what angle the hoist needed to be and had re-slung the sling from the roll bar, it lifted the rear enough to get the trestle out. It was then gently does it lowering down onto the axle stands and ten minutes later its sitting on its new stands.
Big thanks to the family for assisting, in no order of importance or seniority:
Alex (Axle stand rear drivers side)
Alice (Lifter front)
Dan (Axle stand rear passenger side)
Becky (Lifter front)
Jess (Axle stand front passenger)
Vicki (axle stand front driver side)
Sue (lifter)
Bob (lifter)
Ann (chief photographer)
A selection of photos to show the lift down: