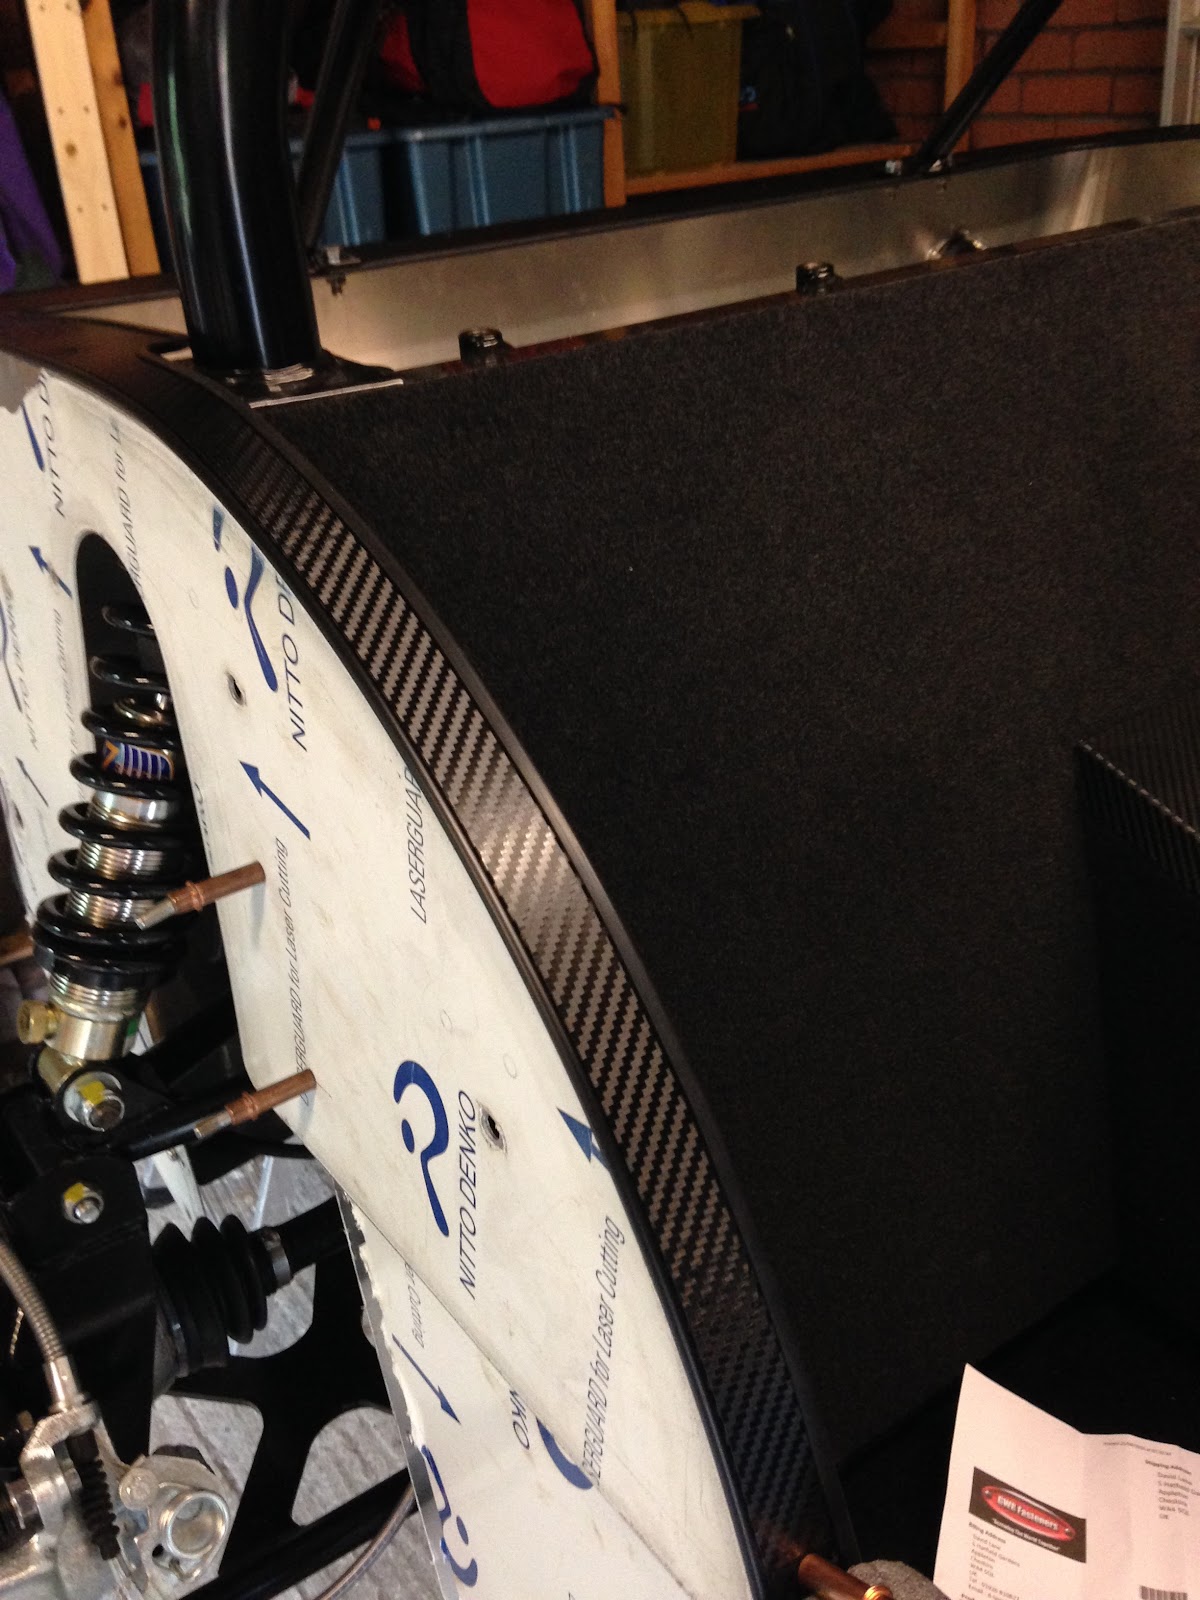
Getting to the point now of final fitment of the panel onto the rear of the chassis, lost count of the number of times it has come on and off for double checking I have done everything I need to do before the final fit, glue and rivet - once I embark down that road there is no turning back.....
 Before fitting, I decided to explore vinyl wrapping further and applied the "skills" I learnt doing relatively simple interior panels to attempting to wrap the rear panel.
So back onto the Internet and ordered 9ft of gloss brilliant white Vinyl with ADT from car wrap direct in Dublin. Again excellent service from the company, highly recommend them, competitive pricing and everything you need to go wrapping.
Prior to wrapping, you need to ensure the surface the wrap is being applied to is scrupulously clean of grease and dirt - white spirit followed by soapy water and a good buff with a lint free cloth should do the trick.
Ensuring there was a lot of space to work with, I first cut the vinyl down to a more manageable size. I established the widest bit of the rear panel is approx. 70cm so adding a bit more on to factor margin of error I trimmed the roll down to around 9ft x 28 inches
Next head scratch, how do I actually get this roll stuck onto the panel? well first idea which was doomed to failure was to wrap the panel in situe on the chassis. In my head that seemed to work, in practice...err no, the rear shocks and brake discs simply jut out too far and prevent the vinyl sitting well and in turn enable it to wrap round the panel successfully.
So off with the panel and tackle it on the floor (hence the need for plenty of space).
 My next approach was to lay the vinyl down on the floor and position the rear panel onto the vinyl and in turn bring the vinyl up each side, this approach looked more promising, some selective cuts to make the wrap more manageable and we were in business time to peel back and get sticking.
I lifted the panel off the vinyl, peeled back the backing paper to approx. half way and placed the rear panel back down onto the now half sticky vinyl bringing the remaining sticky vinyl round one side of the panel and over where wheel arch sits. At first sight It looked awful however I was reassured to know the vinyl can be lifted and repositioned with relative ease. Furthermore, the more time I spent doing the more I discovered the vinyl is quite durable and can withstand some quite brutal manipulation.
 It was now a case of being patient and easing the creases out, squeezing air bubbles out and working my way round the panel side - rear - side. This is where there is no point rushing it, it will not lose adhesion just take your time and ease the vinyl into place. I would guess I spent a good couple of hours applying the finishing touches to the warp.
Apart from a credit card shaped squeegee you will need a very sharp craft knife to get a clean line between the top of the rear panel and the panel shroud and general trimming away of excess.
Hopefully the attached pictures give a good impression of the finished wrap - considering I am a rank amateur at this technique I am really pleased with the finished article and having done one of the harder exterior panels, I hope the remaining sides and scuttle go just as well if not better.