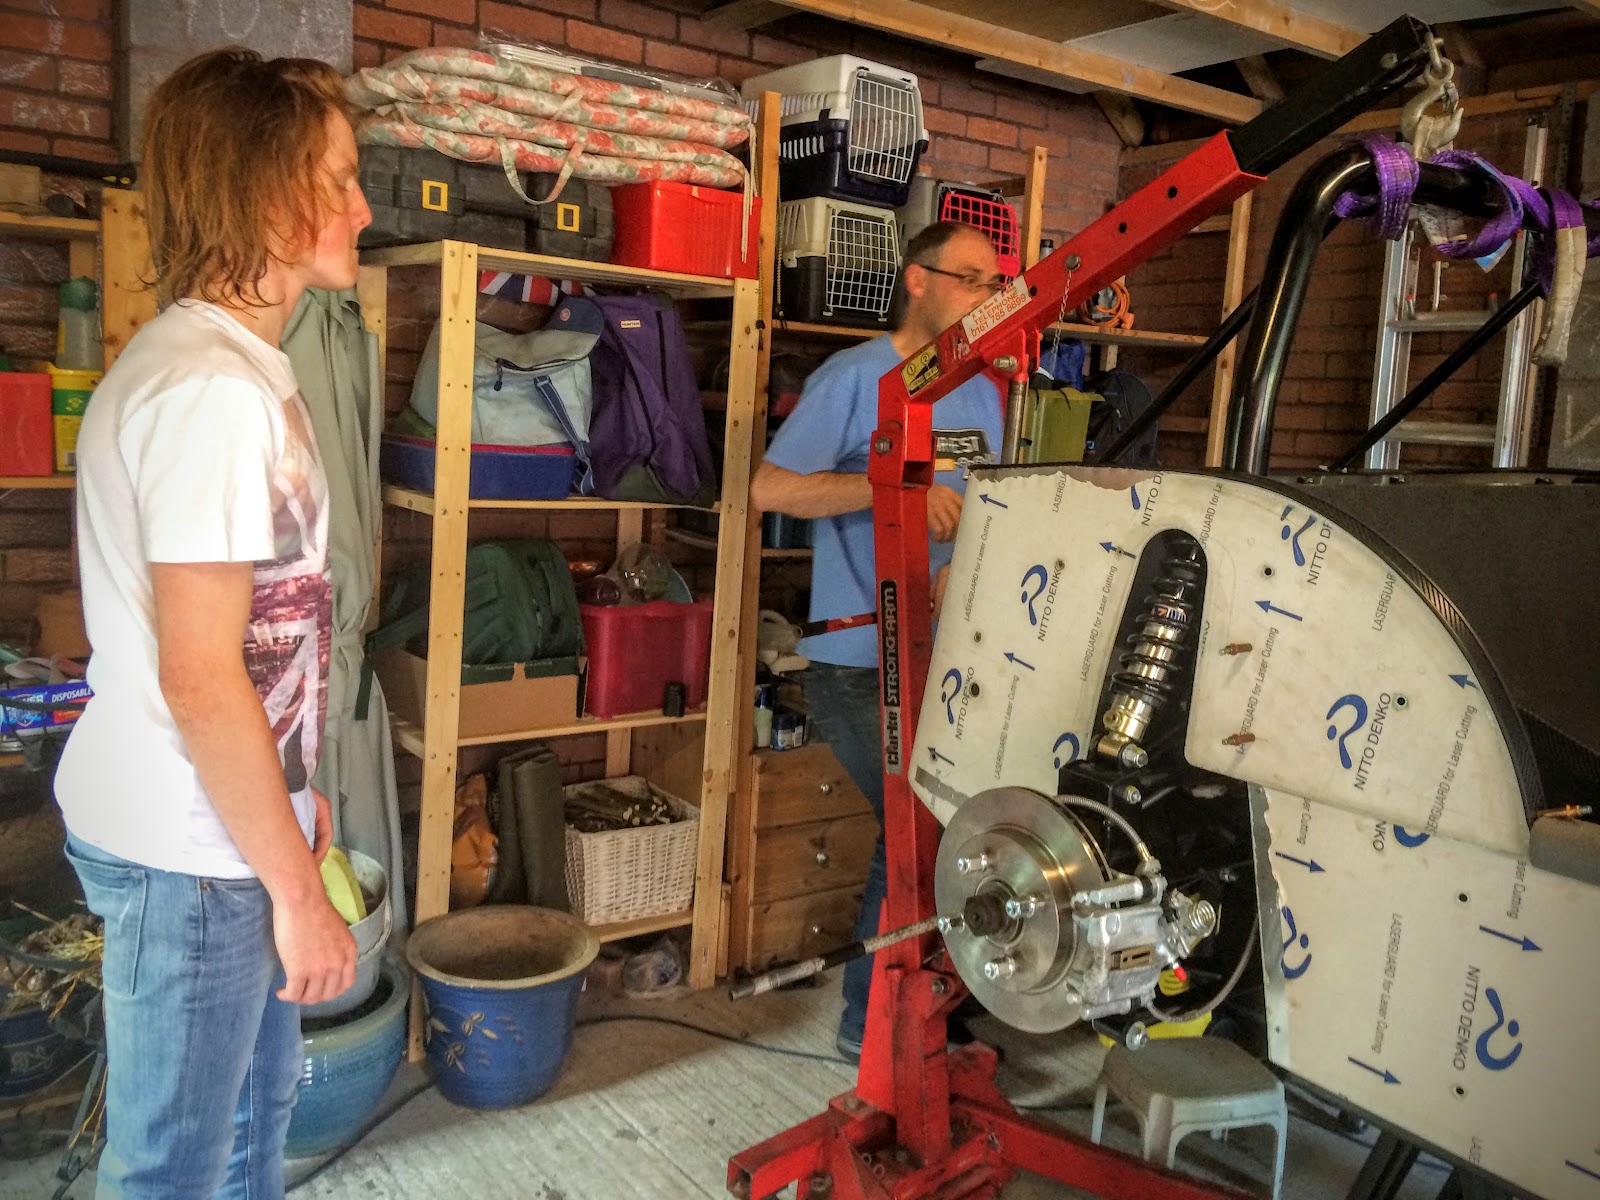
16 months into the build and I think the time has come to take the chassis off the trestles and stand it on some axle stands lower to the ground fully conscious it is gaining weight and there will come a time the trestles can't take any more and start to buckle under the strain.
So, thought process was initially brute labour with several willing (press ganged.?) "volunteers" being roped in with the bribe of a brew and bacon roll at the end and basically lift off the trestles and drop down to the axle stands.
On reflection, not the best way and after looking at obvious lifting points to get an adequate grip that was not going to be a goer. So plan B - engine hoist.
Having not invested in an engine hoist I trawled around the web for one to hire - Hire it Here came to rescue and offered a £40 bank holiday weekend hire of a hoist which was actually bloomin' good value considering HSS were after nearer £90 plus delivery - so a trip to Oldham to collect Friday evening.
So revised Plan B involved the engine hoist lifting the rear up sufficiently to get the trestle out and then gently drop down to the axle stands whilst some willing "volunteers" managed the front end (the lighter end) down onto two more axle stands at the front.
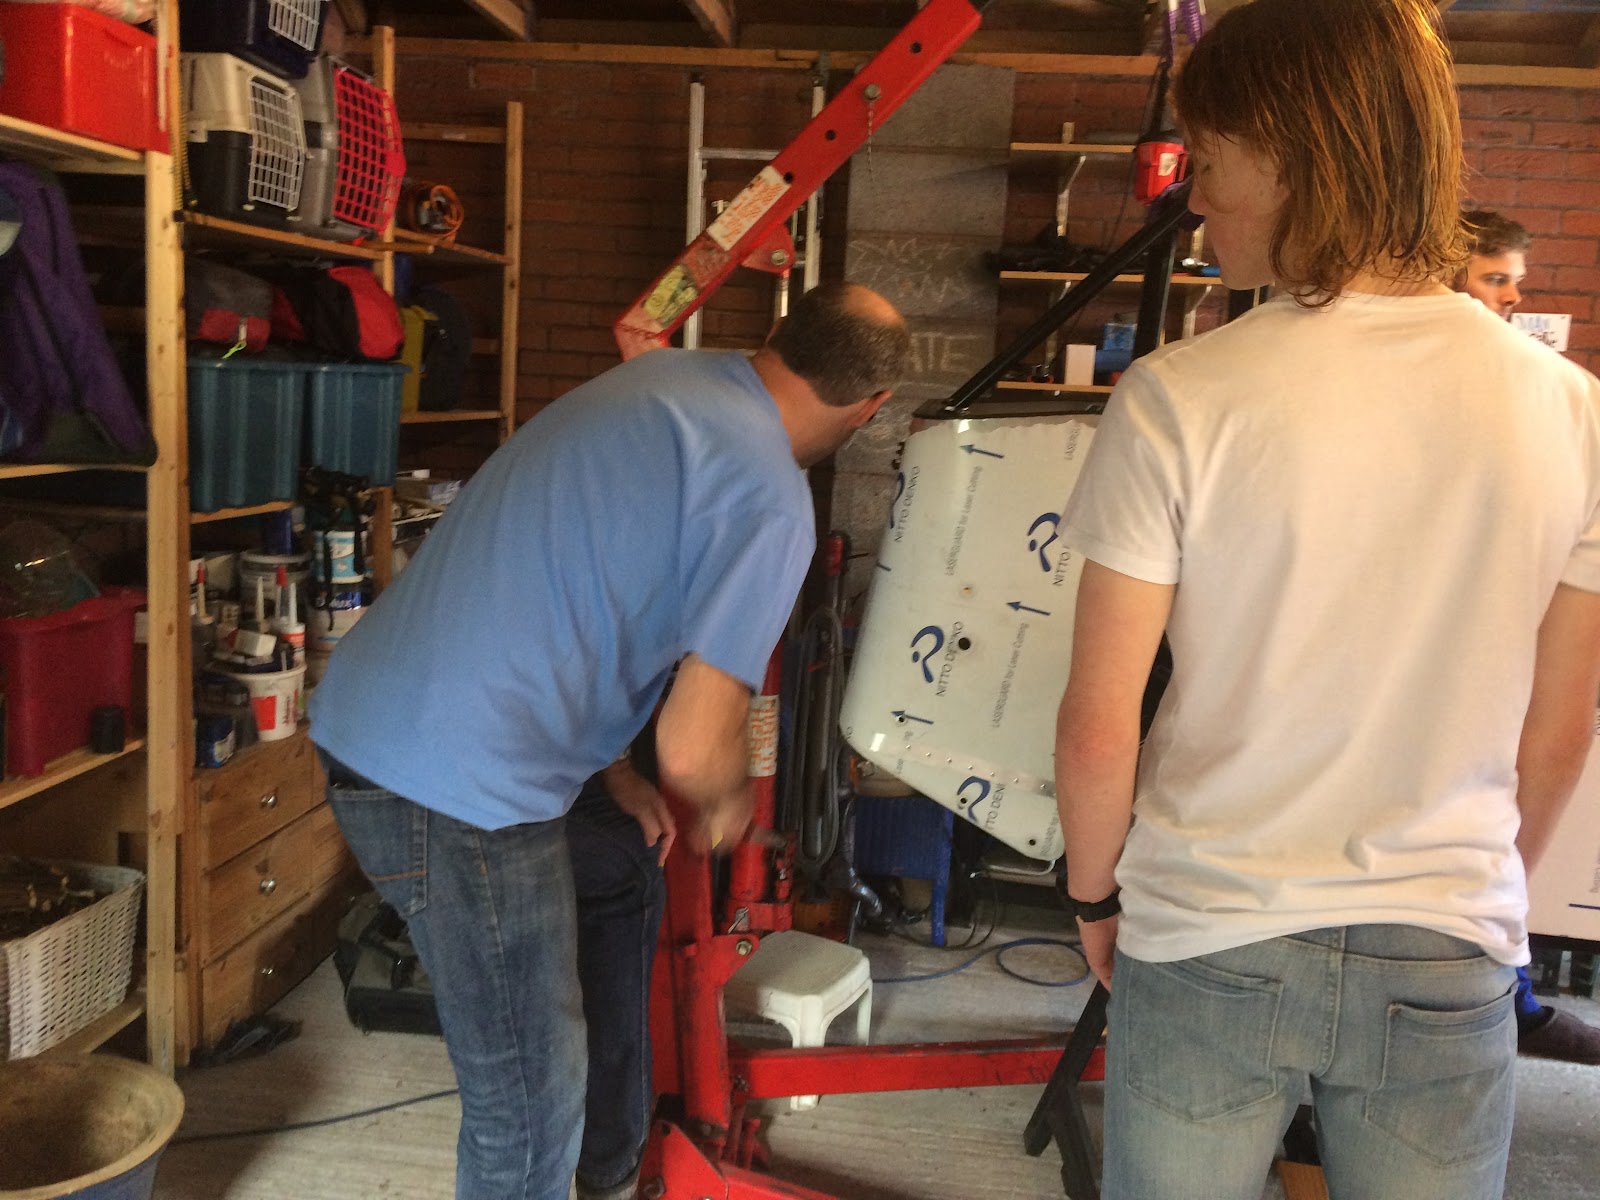
In practice, Plan B went very smoothly and once I had worked out what angle the hoist needed to be and had re-slung the sling from the roll bar, it lifted the rear enough to get the trestle out. It was then gently does it lowering down onto the axle stands and ten minutes later its sitting on its new stands.
Big thanks to the family for assisting, in no order of importance or seniority:
Alex (Axle stand rear drivers side)
Alice (Lifter front)
Dan (Axle stand rear passenger side)
Becky (Lifter front)
Jess (Axle stand front passenger)
Vicki (axle stand front driver side)
Sue (lifter)
Bob (lifter)
Ann (chief photographer)
A selection of photos to show the lift down:
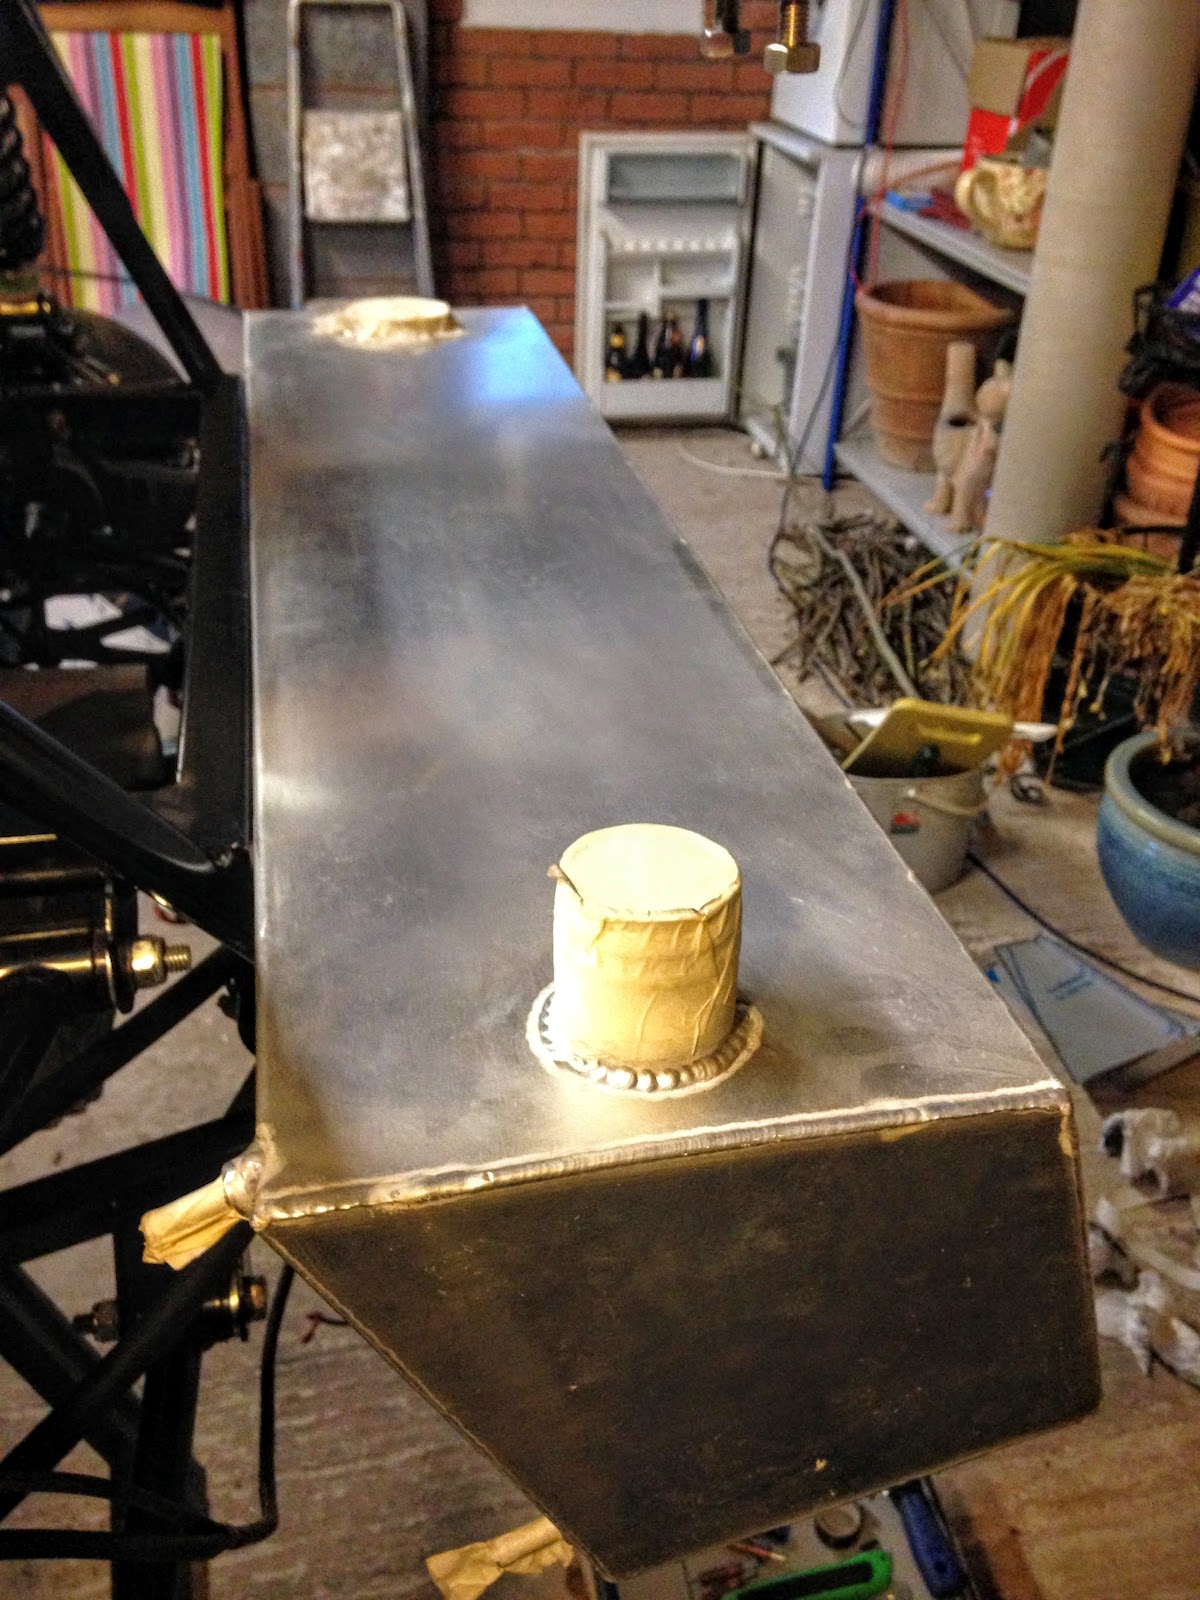
Now I have got the rear panel into shape I have decided to focus more attention on the rear of the car and get it to a suitable point in the construction process where I can aim to get the rear panel fixed into position permanently.
that means getting parts such as the fuel tank, rear wiring, etc all fixed in.
 Fuel tank - simple task - centralise along the rear of the chassis frame, sealant underneath, along the lower rear frame and along the top leading edge
Before I glued the tank into position I took the opportunity to see how the wiring loom will route around the rear of the panel, in particular the fog lamp, reversing light and number plate lamp - its quite tight these will need some gentle coercion into position when the rear panel is finally fixed into place.
The key thing I need to remember is to route the wires through the rear panel as I manoeuvre the rear panel into position rather than try to route wires after the panel is fixed in - my hands are too big to reach!
the following photos show the space where the fuel tank will sit and shows roughly how the rear wiring will route:
A couple of photos of the tank glued into position.
Once the tank had firmly fixed into position, I connected the fuel pipes to the upper and lower parts of the tank - fingers crossed the fuel system is connected up rear to front now with just the final routing to the engine to complete