The time is approaching where I need to give consideration to getting the rear driveshafts fitted onto the chassis, however before fitting, the shafts need some serious TLC having come from a sierra donor. Time to reacquaint myself with one of the first purchases made when I embarked on this fascinating kit car build.
First task was to take a wire brush drill attachment to the shafts and remove as much of the surface rust and grim as possible, this task proved quite rewarding and is worth taking the time and effort to get as good a finish as possible - I was pleasantly surprised at how well the shafts were coming up.
I also want to replace the universal joint rubber gaiters with new ones whilst the shafts are removed from the car so I took a sharp knife to the existing gaiters and stripped those off the driveshaft - promptly releasing grease/oil onto the garage floor as a had forgot the gaiters contain a surprisingly large quantity of lubricant!
next step remove the hubs which fit onto the spline - this was a challenge and required a three legged puller to remove the hub from the spline - remember the nut which holds the hub on has a reverse thread so don't make the rookie error of inadvertently tightening it.
Finally, the present wheel studs are too short for the alloys which I ultimately intend to fit so I took the opportunity to remove those which in turn will be replaced with 47mm studs at a later date. These are extremely difficult to remove and I ultimately found the best tool to do this job was a £9.99 ball joint splitter from machine mart which together with some brute force releases the old stud from the hub.
So the driveshaft was now in a position to be fully degreased and be prep'd ready for some Hammerite paint.
Next stage, fit new rubber gaitors....
During my visit to the open day at GBS I took the opportunity to collect some Gaz rear shocks so a a suitable opportunity presented itself to get the shocks fitted to the rear of the car.
To fit the shocks GBS do provide a fitting kit for both the front and rear shocks, so rather than source the necessary, bolts, nuts and spacers this is worth the additional cost knowing what you get in the kit will fit as necessary
All straight forward to fit, locate bolts through the top and bottom of the shock and in turn through the upper chassis mount point and top of the upper suspension.
The powder coat will need removing from the fixing points on the chassis with a reamer. The bolts will also require some cleaning with some emery paper to help locating through the shock mount / shock
nice half hour job the round off the weekend!
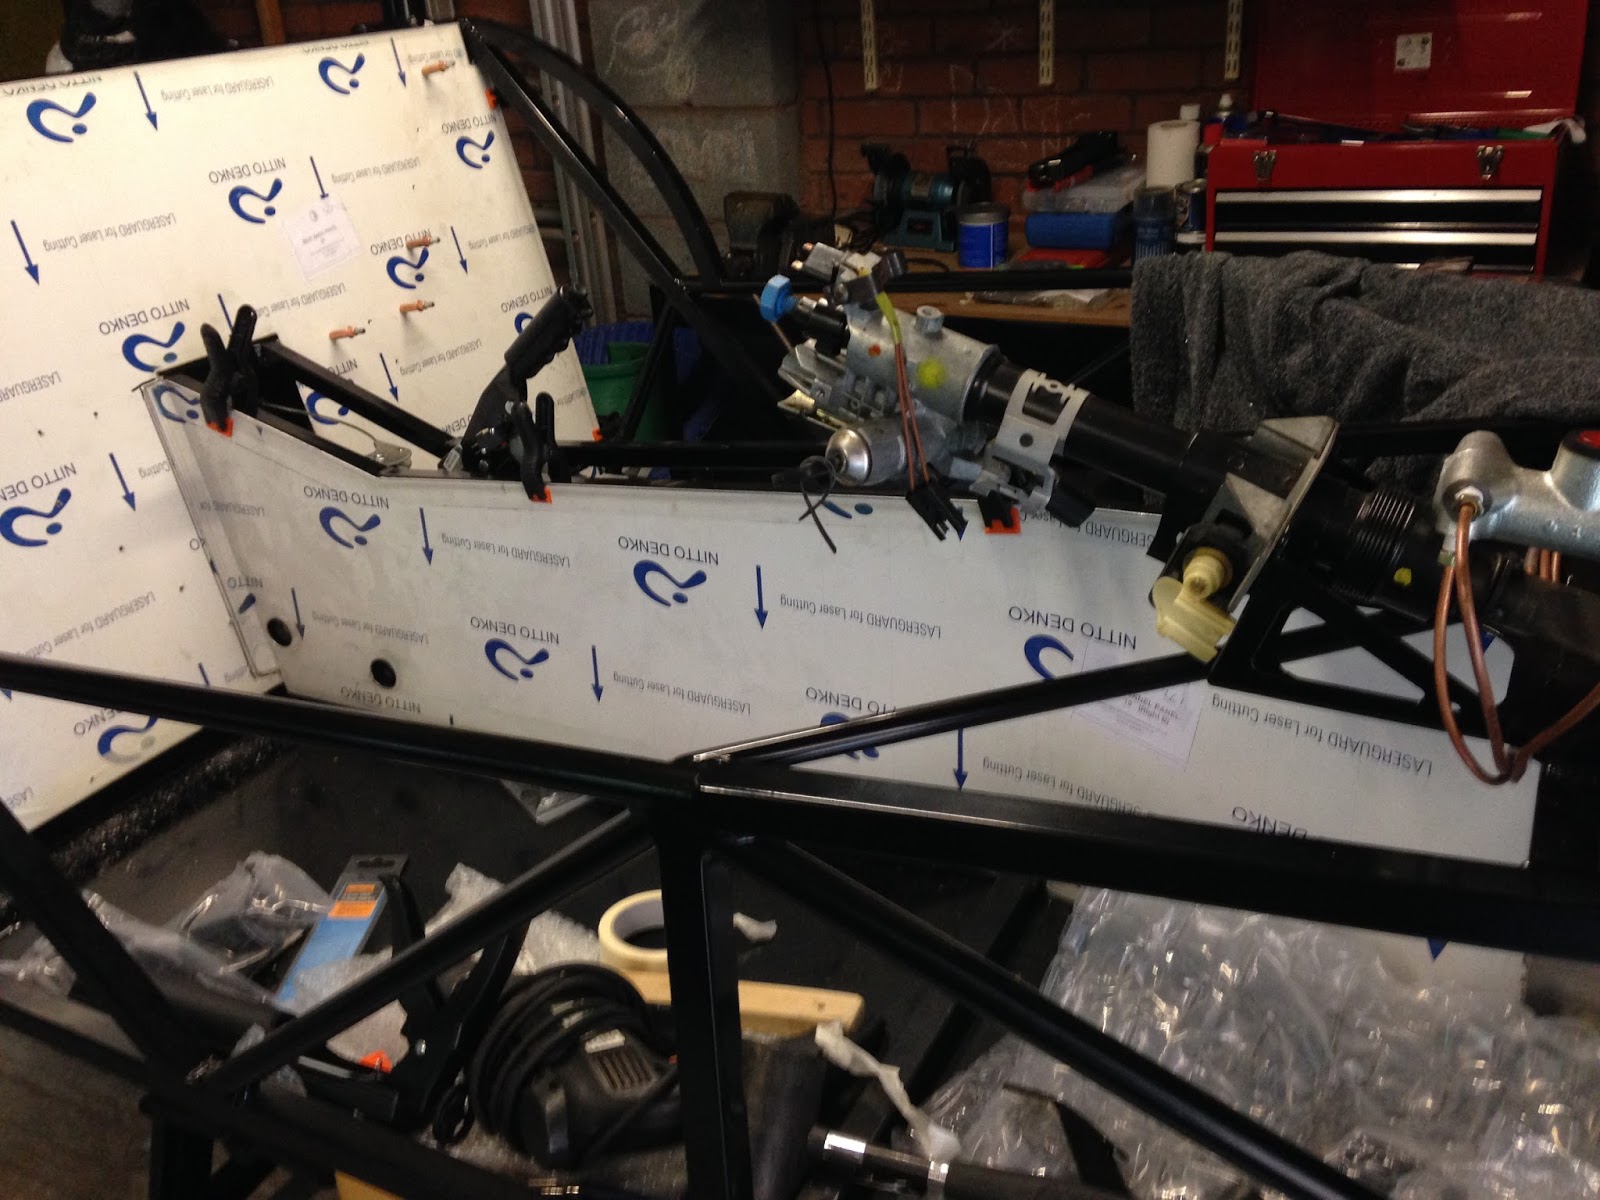
Natural progression from the rear seat panel is to get the driver side transmission tunnel panel into position.
For now I am leaving the passenger side to allow access for fitting the drive shaft later in the build.
So, back to the drivers side and it generally fits well, it needed some slight bending towards the footwell end as it follows the chassis frame plus at the end, the panel needs to bend in towards the driver side footwell panel.
 Once the bends have been put, I again mark up from the inside (drive shaft side) where the frame runs, removed from the chassis applied masking tape to replicate the chassis frame. Holes were drilled for the rivets and the panel re-fit and held in place using some clecos to get fixed firmly in position whilst I drilled out the holes into the chassis frame. Debur and we are good to go with final fit, rivet etc.
Prior to applying the polyurethane sealant, I peeled off the protective film and cleaned the panels/ chassis frame.
Started with the back panel, I applied plenty of the black ultra sticky adhesive sealant, re-fitted the back panel, riveted, clamped and fixed firmly into position wiping away excess sealant whilst being constantly wary of not getting it onto the skin for a prolonged period as its horrendous to get off once engrained onto the skin!
I followed up the rear panel by doing the same process with the driver side panel.
All fixed into position and left to harden over the next 24 hours
Beginning to look more like a chassis now some panels are getting fitted!
 |
| Even jensen approves! |
Time for some more paneling!
Now I have got alot of the services (brake lines, fuel lines, main loom etc) running through the chassis, its coming to the point where I should start getting some of the panels fixed into position.
Back Seat Panel a nice one to get fixed in... Perhaps it was late in the day or the brain was not functioning fully, however I have to admit I spent best part of half an hour working out how this panel actually fits into position.
The solution as always was obvious once I had expelled some frustration in wondering how and why it was not fitting into position. Simple - bend the panel from the middle concave shape, pop the sides into their position on the chassis release the bend. In it goes - as I said simple!
Next need to mark where the panel will be riveted. Its not a load bearing panel so not a huge number of rivets will be required to secure, the polyurethane sealant will be a strong enough bonding agent also.
Easiest way to mark out for drilling, get a black marker pen and scribe from the rear along the chassis frames where rivets will go. remove the panel from the chassis once scribe'd and mark equal spaced rivet holes onto masking tape - following picture shows that after marking up with the pen and masking tape.
3.2mm drill bit for the rivets, some cleco fasteners to assist holding into position whilst further holes were drilled and its all good to go with the sealant and final rivet once the protective film has been removed