
Clearly the builder has the discretion to fit this panel either on the inside of the footwell or on the outside transmission tunnel side to provide some more space for feet which considering there is a clutch and brake pedal making it tight for the driver, locating on the outside is a no-brainer which thus creates the need for a fold to be made along the edge.
So same process as for footwell in terms of fitment to the chassis. Once all holes were drilled into the panel and deburred I offered it up to the frame and decided to evolve the chassis drilling part further from the method I adopted with the footwell panels.
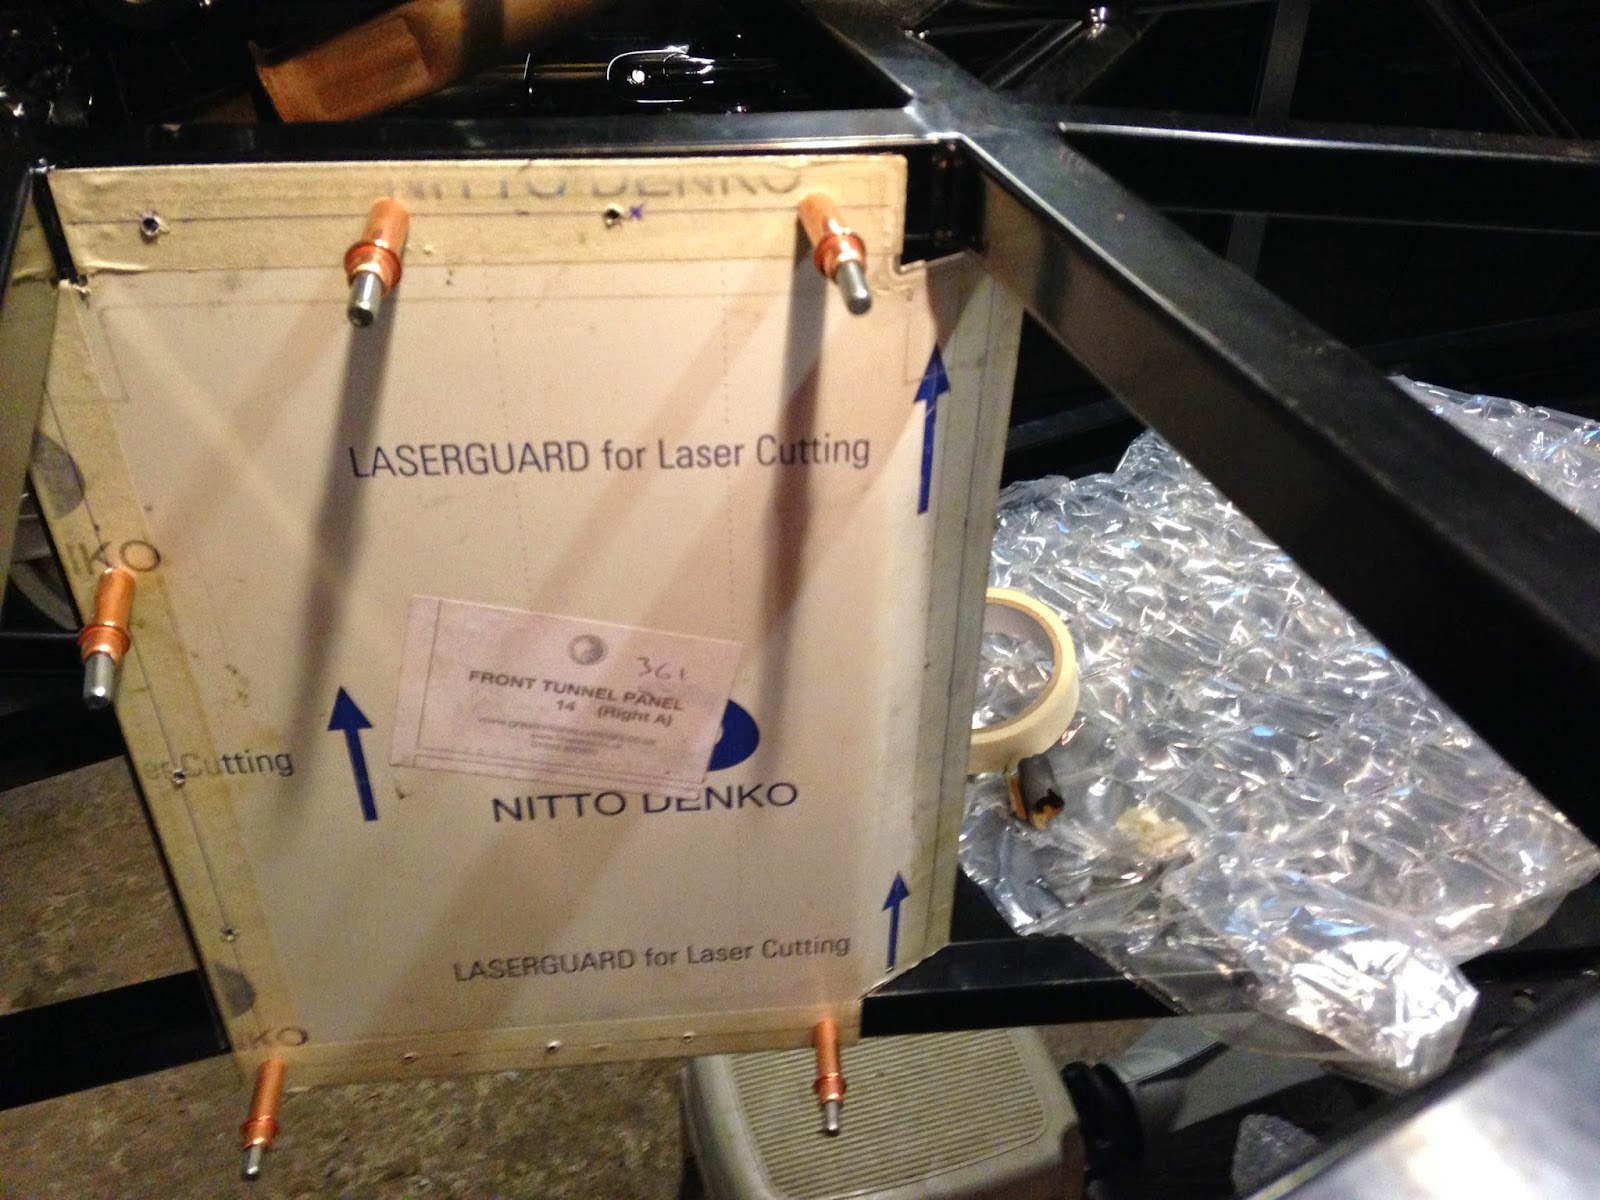 This time I marked up masking tape on the chassis frame, put a pen through the holes in the panel and marked the tape. Centre punched the pen marks, took a pilot drill and drilled through the pen marks and followed up with the 3.2mm drill bit. verdict...An improvement on the footwell drilling process but still not 100% happy however I feel this technique is better.
 Next I looked at putting the fold into the edge of this panel to turn it in towards the inside of drivers cockpit. Relatively easy bit this, find some long wood, fix into vice along with the panel and ease the panel over the wood. A few test fits and further bends and the fold is in and the panel is ready for final fit once all the laser protective film is removed.
This time I marked up masking tape on the chassis frame, put a pen through the holes in the panel and marked the tape. Centre punched the pen marks, took a pilot drill and drilled through the pen marks and followed up with the 3.2mm drill bit. verdict...An improvement on the footwell drilling process but still not 100% happy however I feel this technique is better.Next I looked at putting the fold into the edge of this panel to turn it in towards the inside of drivers cockpit. Relatively easy bit this, find some long wood, fix into vice along with the panel and ease the panel over the wood. A few test fits and further bends and the fold is in and the panel is ready for final fit once all the laser protective film is removed.


